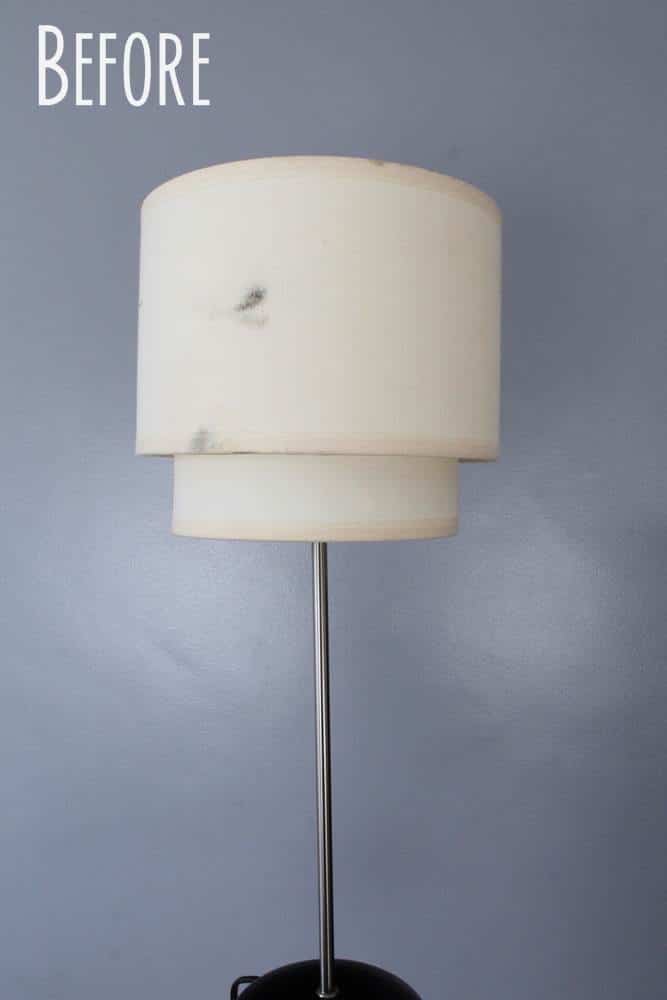
I have a few old looking, yellow stained lampshades stored in the house. I got them second hand very cheaply but they are just not in the state I would proudly showcase them around my house.
However, apart from the random stains and a few cracks in the plastic on the inside of the shades, they are in perfectly good working order.
Call me old-fashioned but I am the not the kind of person who throws a fine piece of home-ware away when it is in good working condition. Even though they are vintage lamp shades, they are from a good maker and still sturdy. Their design is somewhat timeless and I can easily see them displayed as bedside lamp shades in our rooms after some TLC.
What took me the longest was to decide what to do with them. If I could just clean the stains away they would be fine left in white. But I didn’t really know how to clean the lampshade and honestly I was looking for some colorful lampshades to add to our rooms.
I perused Pinterest for ideas of course. There are plenty of tutorials on how to cover a lampshade with textile and how to spray paint or chalk paint a lampshade. I didn’t really want to use any of these techniques because it wouldn’t solve the problem with the inside plastic being cracked here and there.
I could try and learn how to redo a lampshade but I didn’t have all the materials to strip everything off and start from zero on the frame. Like many creatives, when I have an idea I want to start immediately (before the momentum goes and I never finish that project! lol), and use supplies I already have!
That is when I came across this pin, which attracted me because of the colors. I am not a horizontal stripe person so I thought that this technique would look better with vertical stripes! I had plenty of yarn and could start the project straight away. And wrapping the yarn through the inside would also fix the plastic crack problem I had, what a perfect solution!
DISCLAIMER: Caution here before you start this project! Carelessness causes fire. Yarn is not fire resistant. Depending on the type of lamp you use and the proximity of the shade to the lamp this can become a fire hazard. Do this project at your own risk. Meraki Mother, or the author, cannot be held responsible for accidents and damages caused by following this tutorial. We cannot confirm that this project will comply with the current Furniture and Furnishings Fire Safety regulations in your area.
Contents
How to Recover a Lampshade
For this lampshade makeover you will need the following tools and supplies:
- Colorful yarn
- Double-sided tape
- Scissors
- Your old fashioned lamp shades to be recovered.
Steps – How to fix a lampshade
Step 1 – Clean your shade
Take the shade off the support and clean it with a wet cloth. Let it dry completely.
Step 2 – Try and decide on the techniques
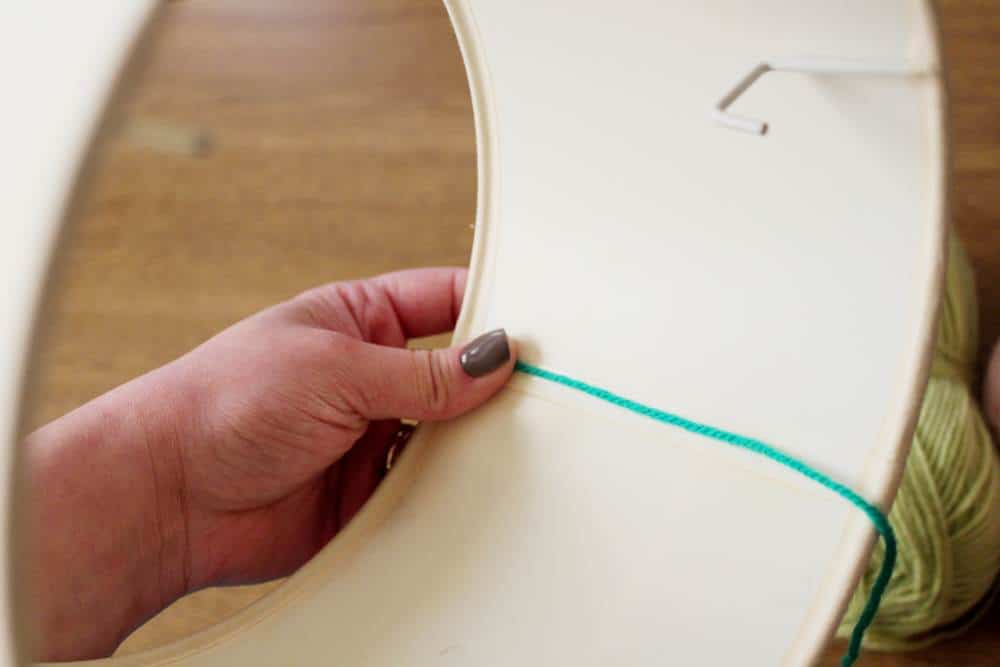
Cut a piece of double-sided tape and add it to the inside of the shade, alongside the plastic joint.
Stick the end of the thread of your preferred yarn to the tape and start wrapping the yarn around the lampshade.
TIP 1: You could also use a low heat glue gun to stick the yarn in place.
TIP 2: Be careful not to tighten the yarn too much, it may cause the shape to lose its form. Also don’t leave it too lose either. Practice with the first few wraps until you get roughly the same tension around with each wrap – that is why we start on the back.
Step 3 – Keep wrapping
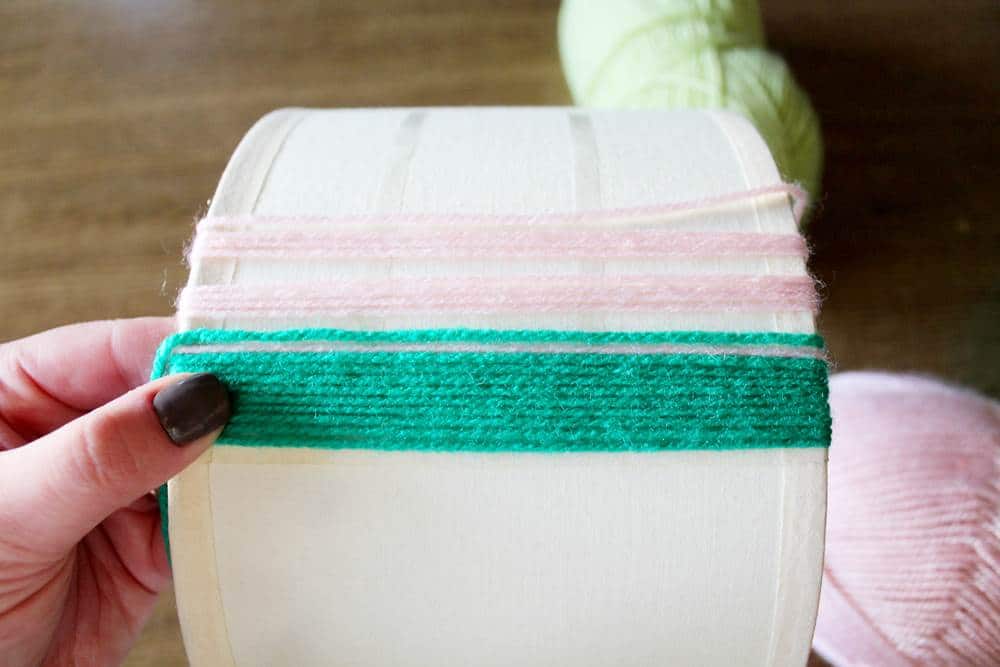
Keep wrapping until you cover the desired space and feel that it is time to change colors. You could use equal color intervals but I left it totally random.
When it is time to change colors just add another piece of double-sided tape at the back and stick both yarn colors, the one you just finished using and the one you are about to use.

You can also add double-side tape to the front of the shade to help secure the yarn in the right place.
TIP: if you want to blend colors like I did just leave some space between wrapping and fill it up with the next color. See photo below
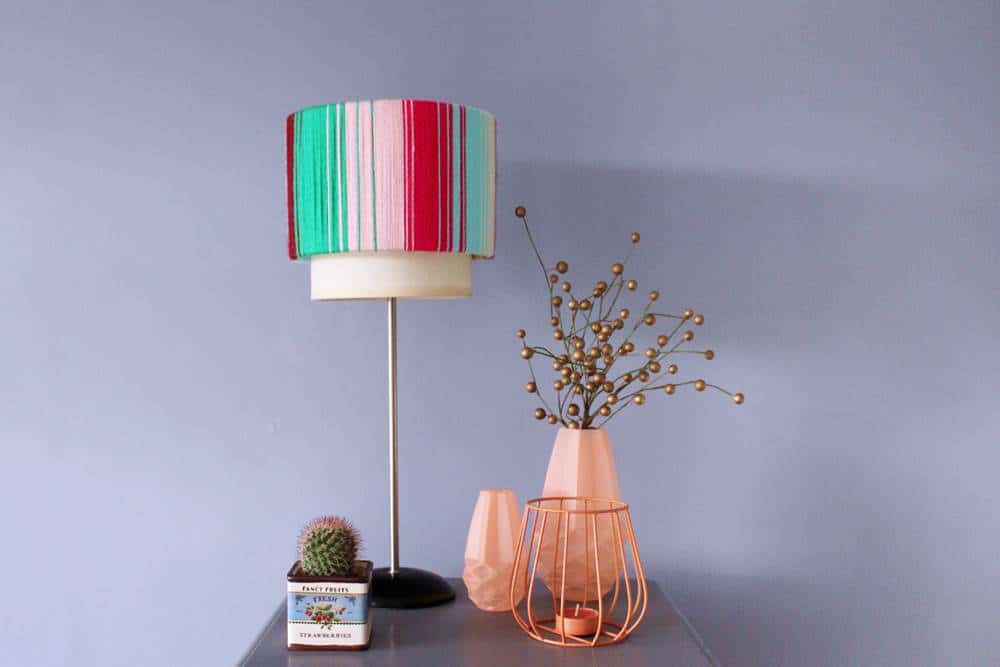
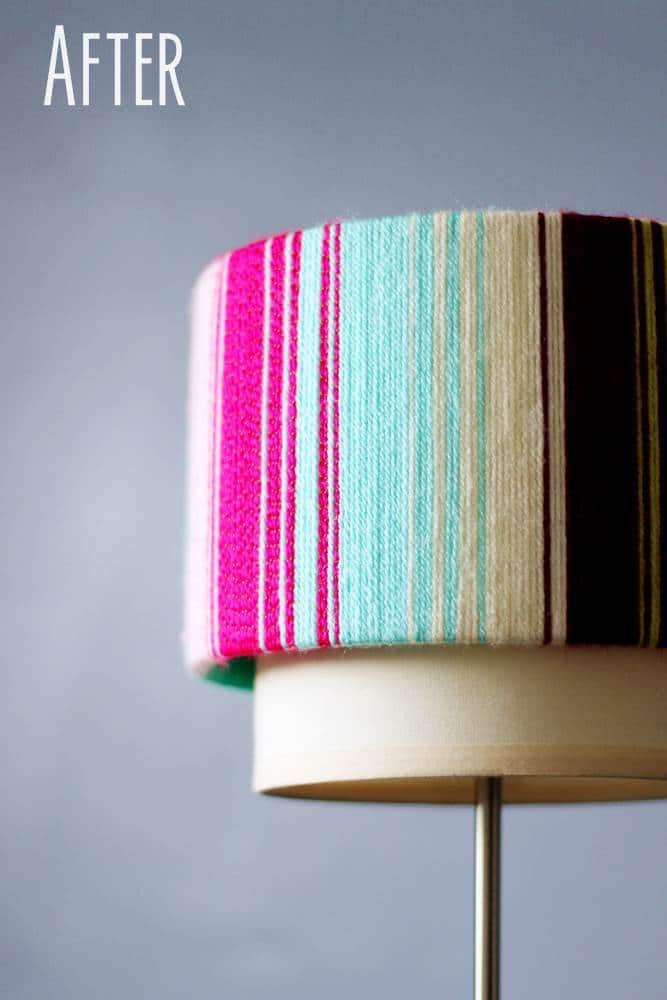
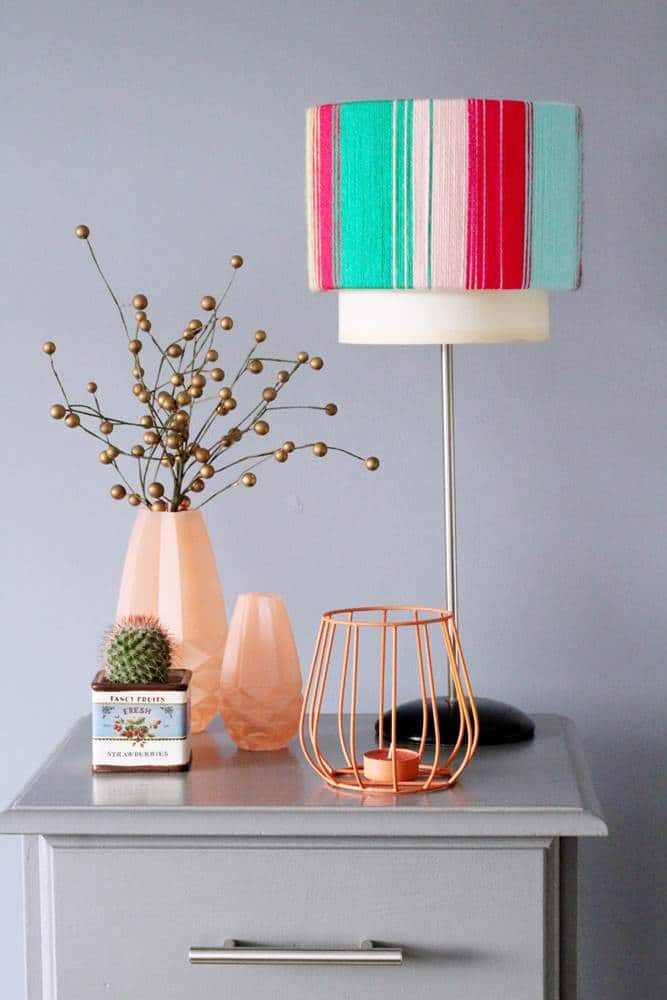
Step 4 – It is ready to use
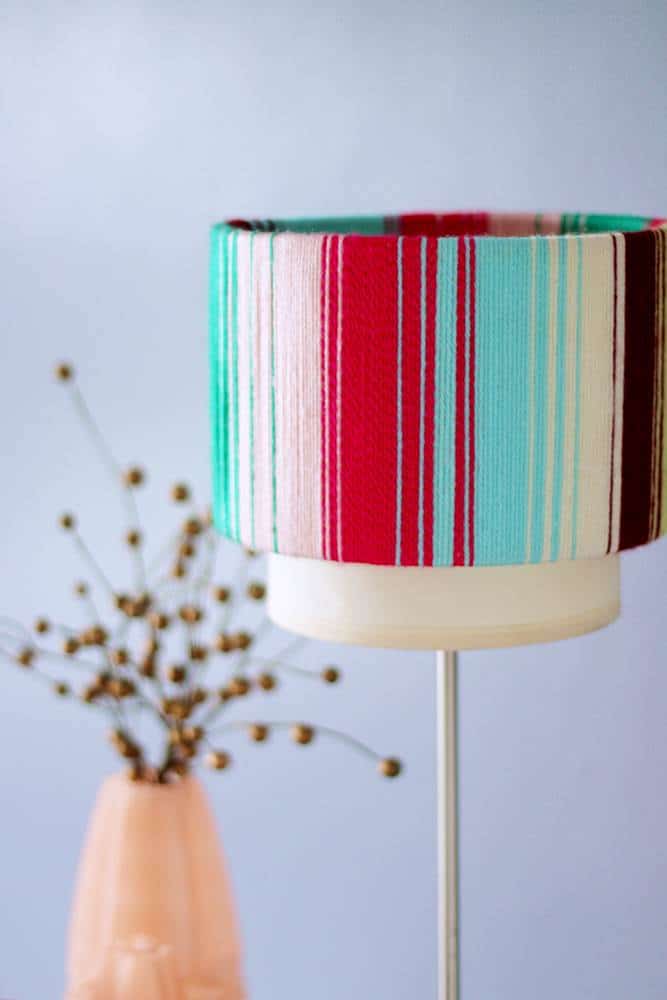
Now you just need to find a nice place for it. I love how the color pops and brights this grey room of mine. The little details make all the difference! This is a great way to add some cozy element to your minimalist room.
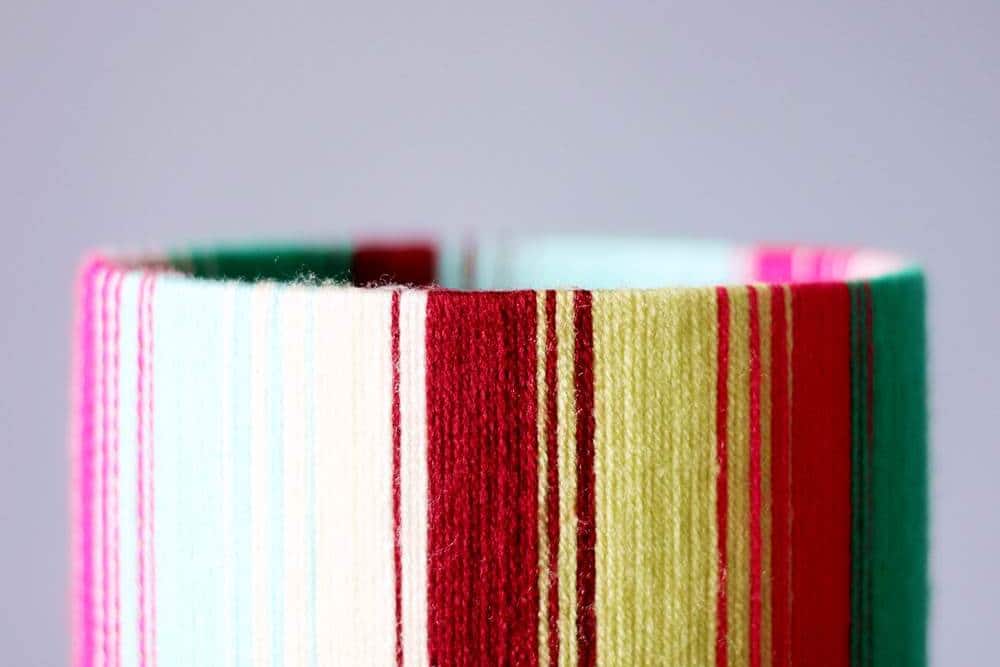
Here is a close-up! I LOVE the result, what do you think?