Store all your daily bujo tools and supplies in one easily accessible place! Make your own Bullet Journal Supply Organizer and Storage frame.
Despite me having about 6 drawers throughout the house dedicate for my bullet journal supplies, I was in need for something mobile to organize my most used supplies.
You see, I have a lot of pens, pencils, crayons, washi tapes and evenjournalitself I have a few being used at any given time. I have my computer desk and a writing desk, but sometimes I take my bujo outside as I feel more artistically inspired outside.
It always takes so long to collect everything I need and I normally make a huge mess of my already not-so-well organized supplies.
I have tried some of the pencil desk organizers and even the craftsman totes and event though they were good solutions, they are still quite bulky and take a lot of space on my desk.
The little travel totes are far to small for what I needed. It would have to be something in between, but what?
I decided that I had to research further for a solution and meanwhile I kept moving my craft supplies around as well as I could.
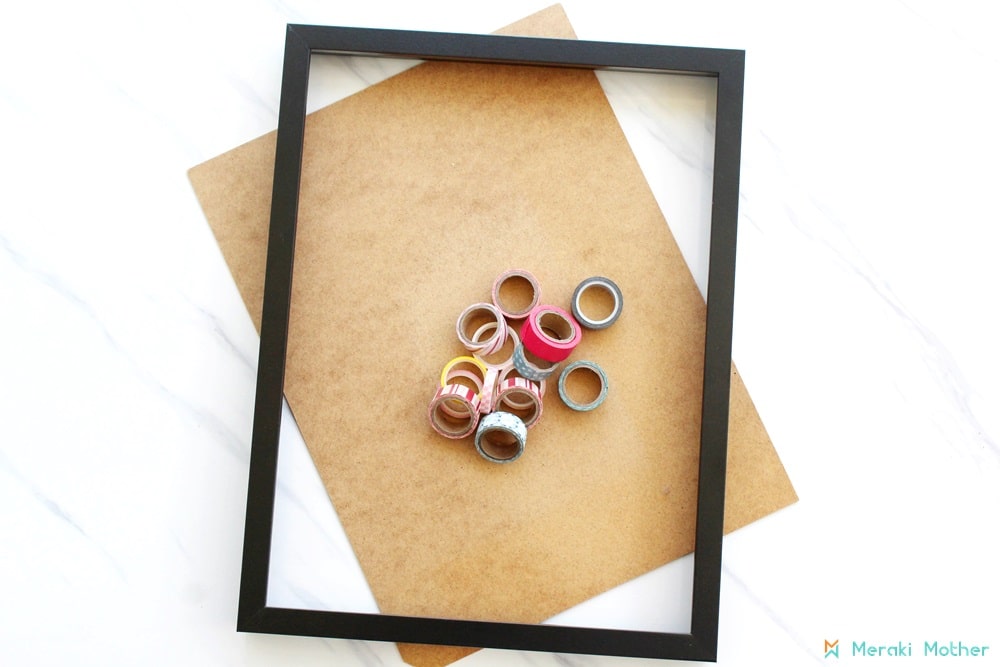
Last weekend, while organizing my cupboard, I found this A3 picture frame from IKEA. Its glass had broken during our moving in the beginning of the year but the frame itself was in great condition. I kept it thinking that I would be able to use in some project, someday.
When I placed it on my desk I realized how tall and skinny the frame was and the idea of the bullet journal supply organizer came back to my mind. This would make a great supply frame!
Read on to learn how to make your very own bujo supply frame to decorate your desk or hang up on the wall. I can move it around the house easily too.
Click her to check more DIY projects!
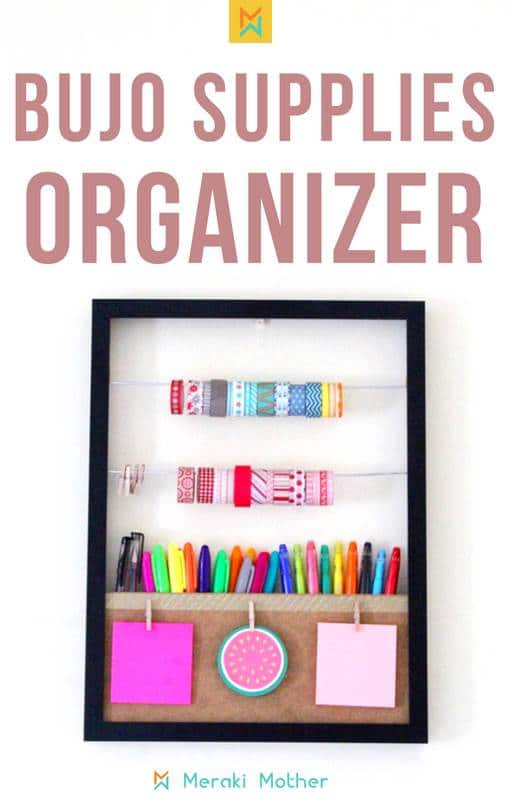
DIY Bullet Journal Supply Organizer
Make this bullet journal supplies storage and organizer with things you have at home!
Everything I used for this project were used/second hand objects I found in my house that need re-purposing. You probably have the supplies in your house too but if you need to buy any of the materials I used, here you go:
- A3 picture frame – could be another size too, you don’t need the glass
- Old metal hangers
- Wire cutter
- Small piece of ribbon
- Hot glue gun and glue
- Box cutter
- Cutting ruler
- Mini clothespin
- Washi tape to decorate (optional)
Instructions:
Step 1: On the back side of the frame measure and mark where you will want to hang your washi tape lines.
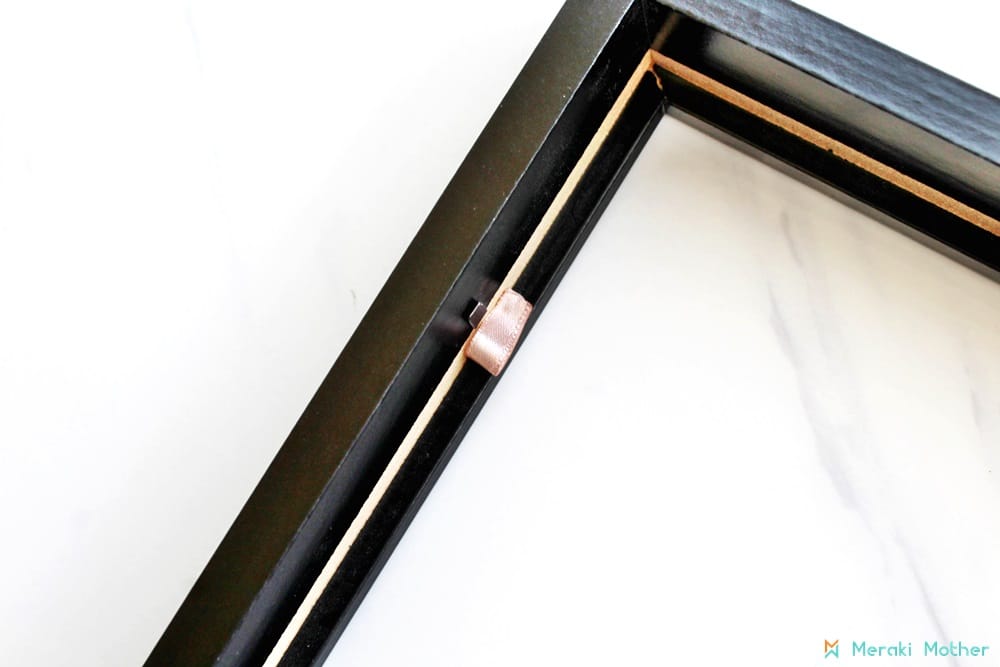
Cut 4 1 inch pieces of 1/8″ satin ribbon. These will the hoops where we will hang the lines to organize the washi tapes.
After you cut the ribbon pieces, add a little bit of hot glue in one end of the ribbon and close the two ends together. Then add more glue to the back of the ribbon hoop and attach it to the frame. Do the same thing with the other cut pieces, aligning them on each side. You will end up with 2 hoops on each side of the frame.
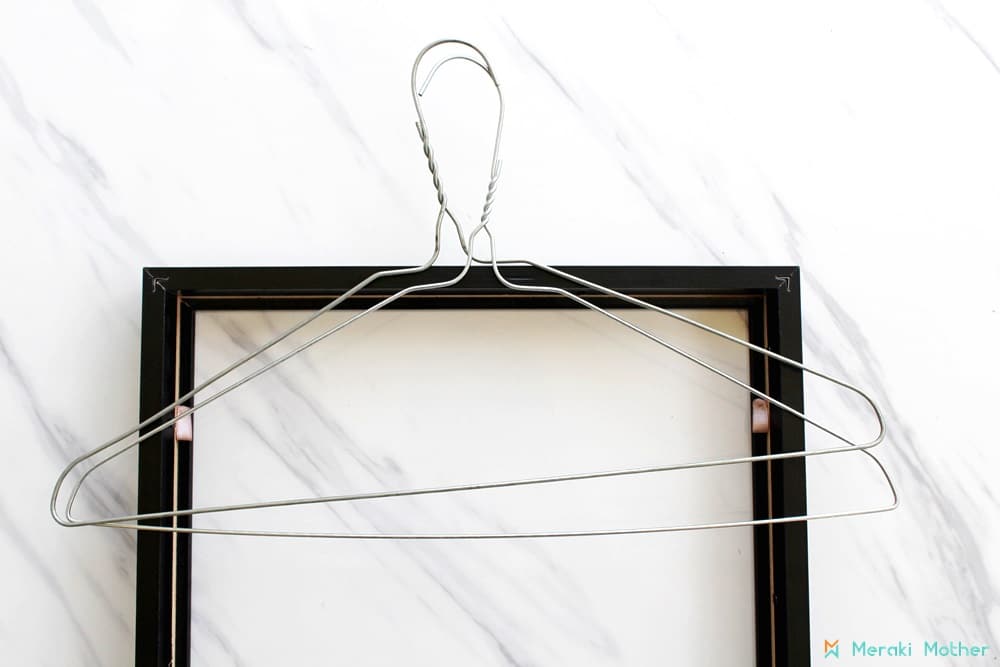
Step 2: Measure the inner size dimension of the frame and cut the 2 pieces of metal hangers to size with the wire cutter. You need the metal wire to go from one side of the frame to the other. After you have cut the metal you can insert each end of the wire into the hoops on the side of the frame.
Step 3: To make the bottom pocket on the frame we will use the backing sheet of the picture frame. Mine was made of a thick cardboard/cork material.
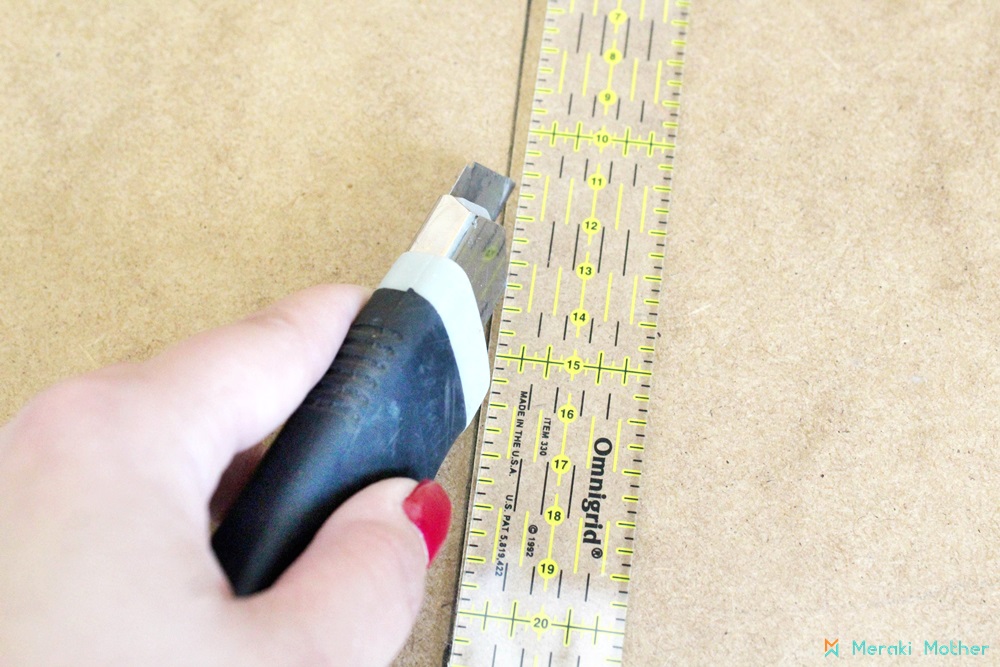
First I measured about 3 inches from the bottom of the sheet and marked a straight line with a ruler. To cut this thick material I used a box cutter. You will have to passyour knife on the same place several times until the material is week enough to snap off. Use a cutting ruler to make sure you cut on the same place over and over.
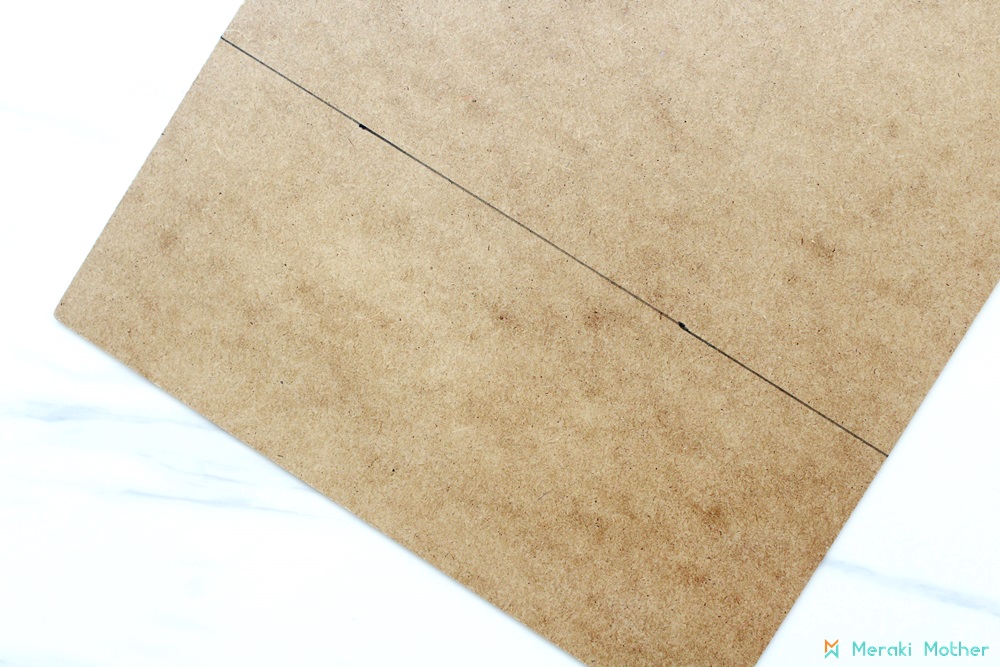
Don’t worry if the cut edge isn’t clean. You can sand it off to make it smoother or just place that side on the bottom of the frame and nobody will see it.
Then I measured another piece of about 2 inches and cut it with the same technique.
Step 4: I adorned the 3 inch wide sheet with washi tape and glued 3 mini clothes pins to hand mypost it notes. This will be the front part of tools pocket.

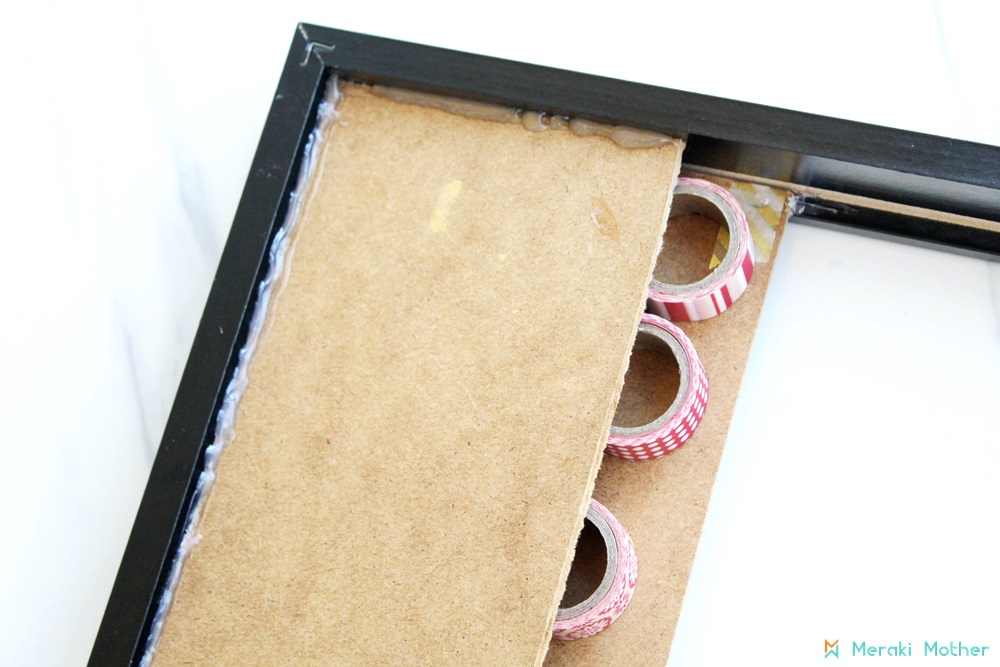
Step 5: Turn the frame on its back. Add glue on the bottom and side of the 3 inch sheet and glue it the frame. The sheet is wide enough that it will rest on the inner edge of the frame.
Step 6: To glue the back side of the pocket you will need to put some material in between the front and back sheets. I used my own washi tapes to make the space between the 2 sheets then glued the edge of the back pocket side to the frame using my hot glue gun.
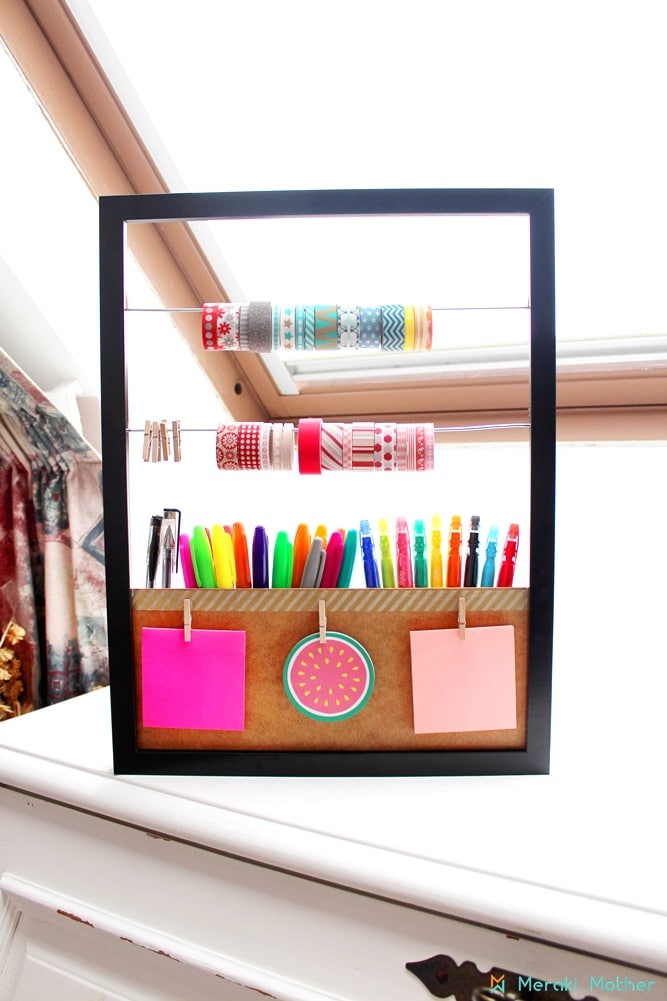
And that is it! Ready to be filled with bujo goodies! All of these supplies I use daily on my bullet journal weekly spreads.
You can either hang it on your desk or move the frame around the house and you will have all your beloved supplies at hand whenever you need them!
Related: Build good habits today with your bullet journal!
How To Store and Organizer You Bullet Journal Supplies
If you dont feel like making your own supply storage and organizer, there are a few options that are totally awesome to keep your favorite craft supplies organizerd
1. Desk Organizer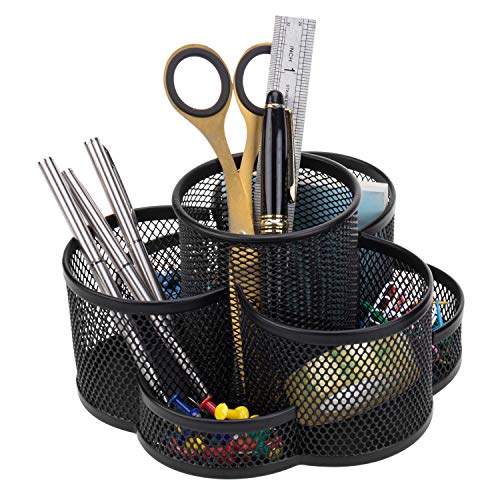
A convenient rotating desktop office supplies organizer made of metal mesh. Features a 1 tall storage cup in the center surrounded by 3 medium-sized cups and 3 short cups....
2. Art Supply Organizer

SMART STORAGE: Great for paint, glitter, yarn, ribbons, paper, markers, crayons, albums and fabric; Multiple storage options including scrapbook supplies, photo storage, card...
3. Beautiful Desk Organizer
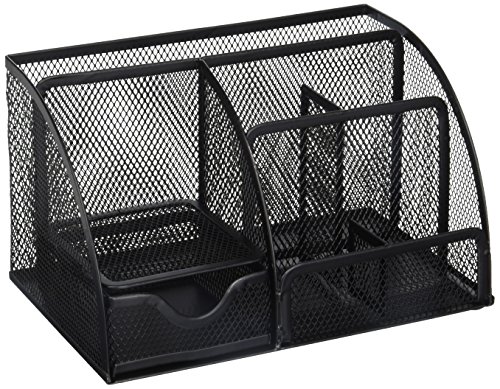
Office desktop caddy organizer, great for keeping your desktop neat and tidy. Made of durable scratch resistant steel wire mesh with a reinforced metal rim. Features 5...
4. Grab n’ Go Rack
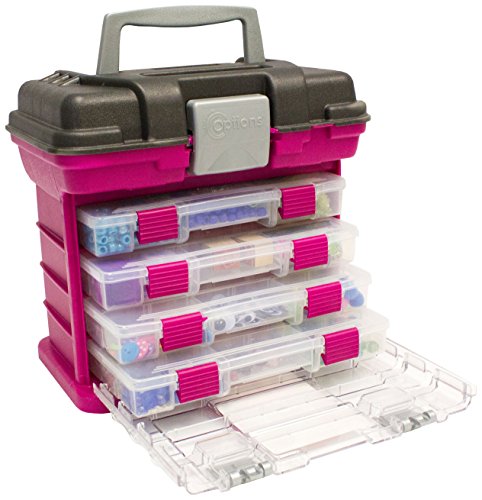
Includes 4 small utility boxes Top bulk storage Latching closures and top handle Includes 4 Creative Options utility kits, model (2-3500) Small sized
5. Washi Tape Box

6. Washi Tape Dispenser

Package include:2pcs Dispenser Green/NOTE: The tape dispenser is light and need two hand operation. Size(inch): 4 (L) x 3.58(W) x2.79(H). Dispensers for paper tape, can hold...
7. Craftsman Tote
On the inside, 16 elastic loops and a roomy interior let you store a variety of gear On the outside, large mesh pockets on both ends as well as smaller pockets along the give...
How to do you store your bullet journal supplies? Let me know in comments below.