
Looking for perfect DIY easter gifts?
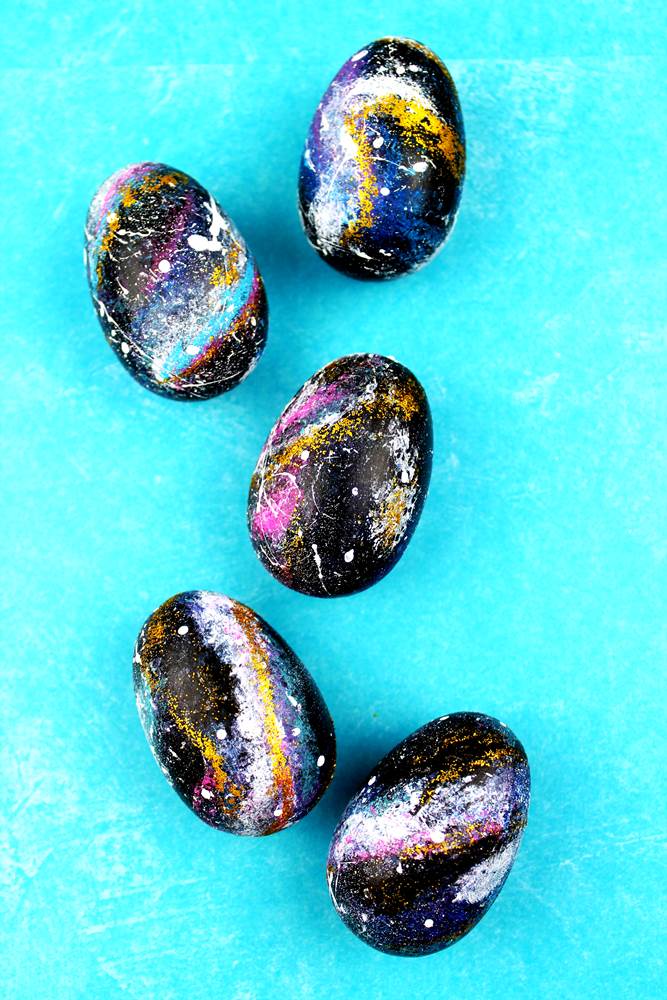
Stop your Pinterest search for Easter ideas now, because these DIY galaxy Easter crafts idea make a gorgeous addition to any Easter basket and will have the Easter Bunny wishing for an adventure to the stars.
Follow our easy step by step guide to creating these Galaxy Easter Eggs.
DIY Galaxy Easter Eggs Craft
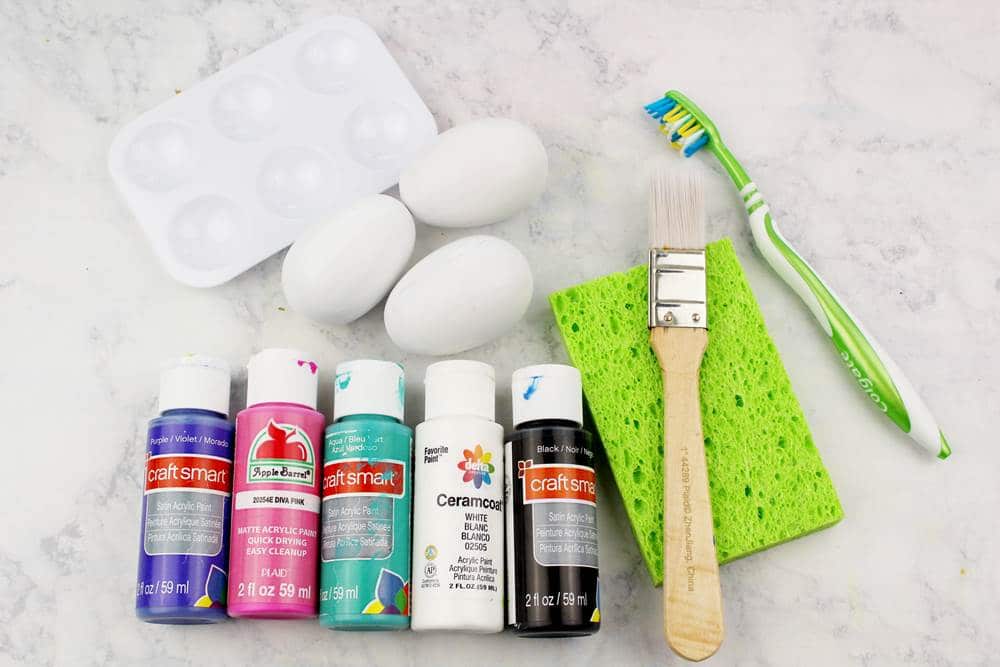
Easter Galaxy Eggs Supplies
This is all you need, follow the link to buy your supplies now:
Instructions:
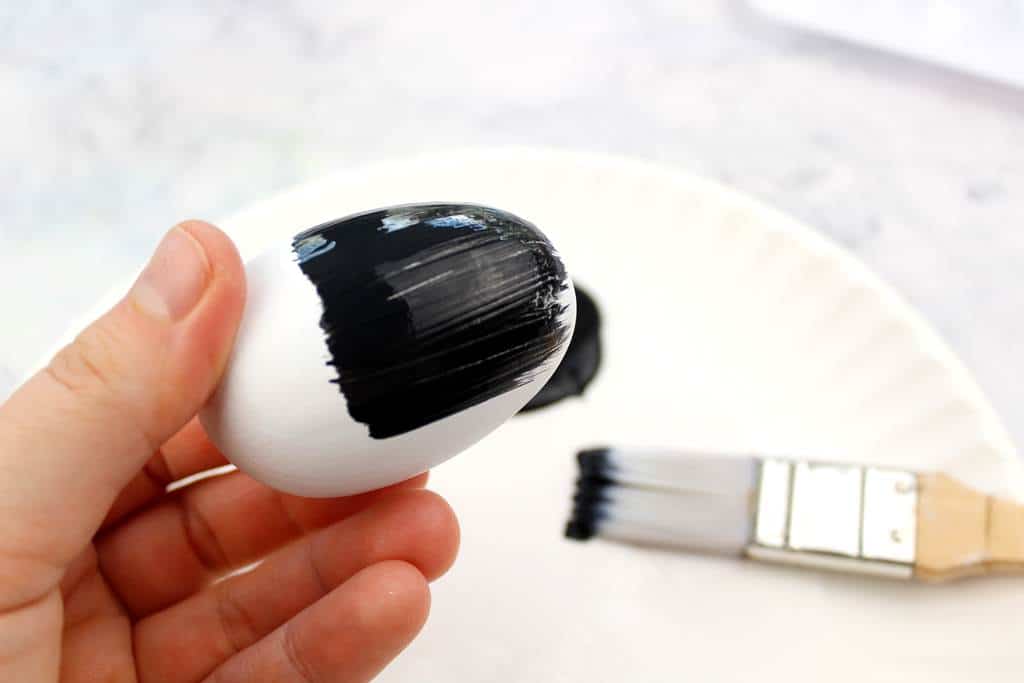
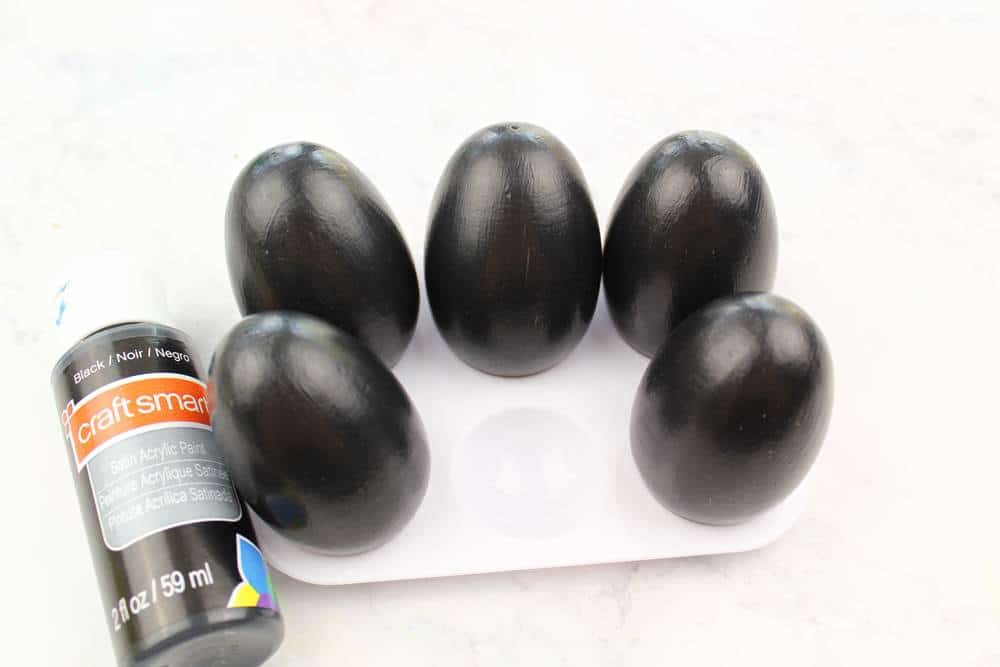
Paint the wooden eggs black. This will take 2-3 coats. Allow the paint to dry completely.
Cut a sponge into small 1 inch pieces.
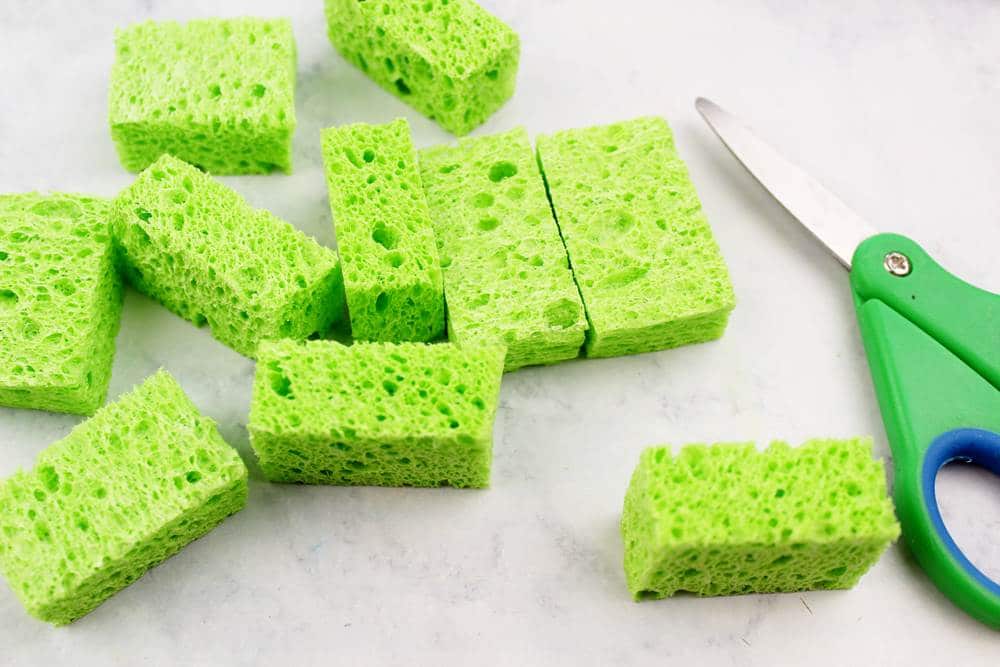
Add paint to a paper plate. Use a different piece of sponge for each color.
Dip the sponge into the paint and dab the sponge onto the egg. (tip: hold the egg up with a piece of toilet paper tube)
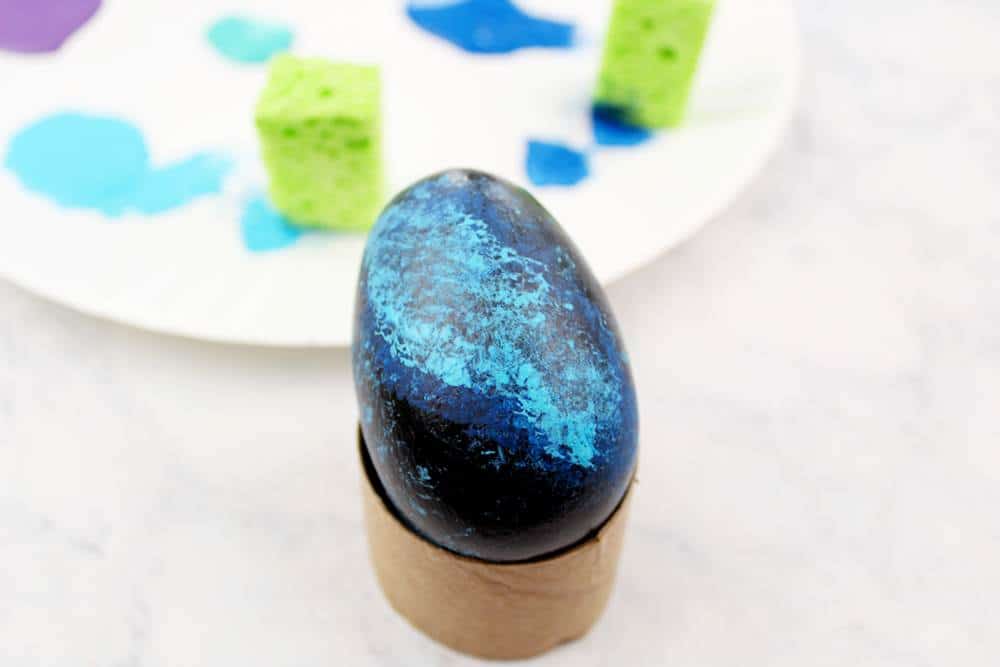
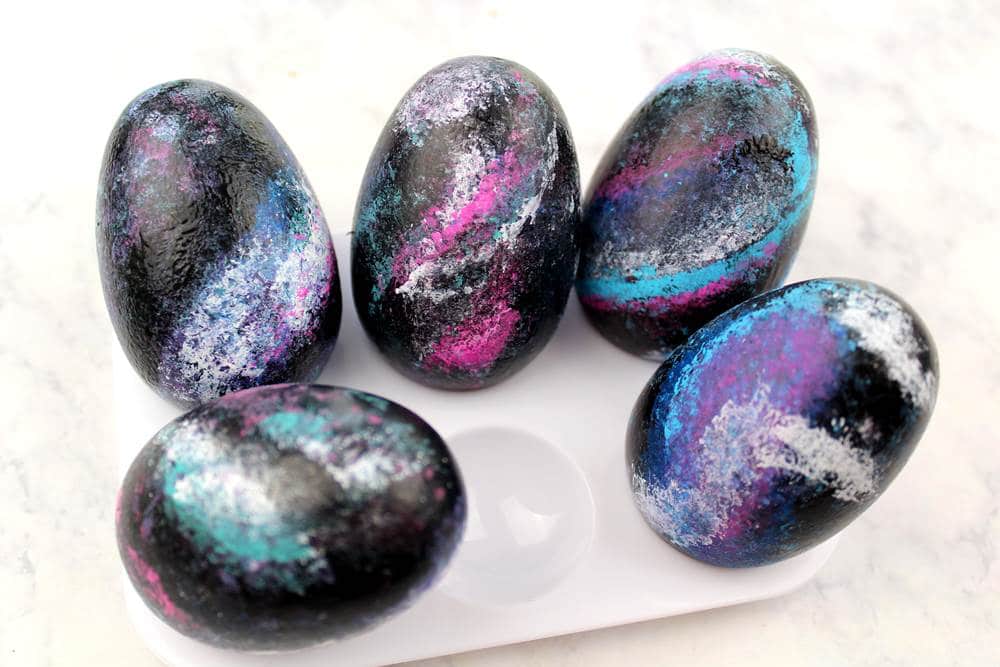
Allow colors of paint to dry before dabbing another color on top. Keep dabbing colors onto the egg until your happy with the result.
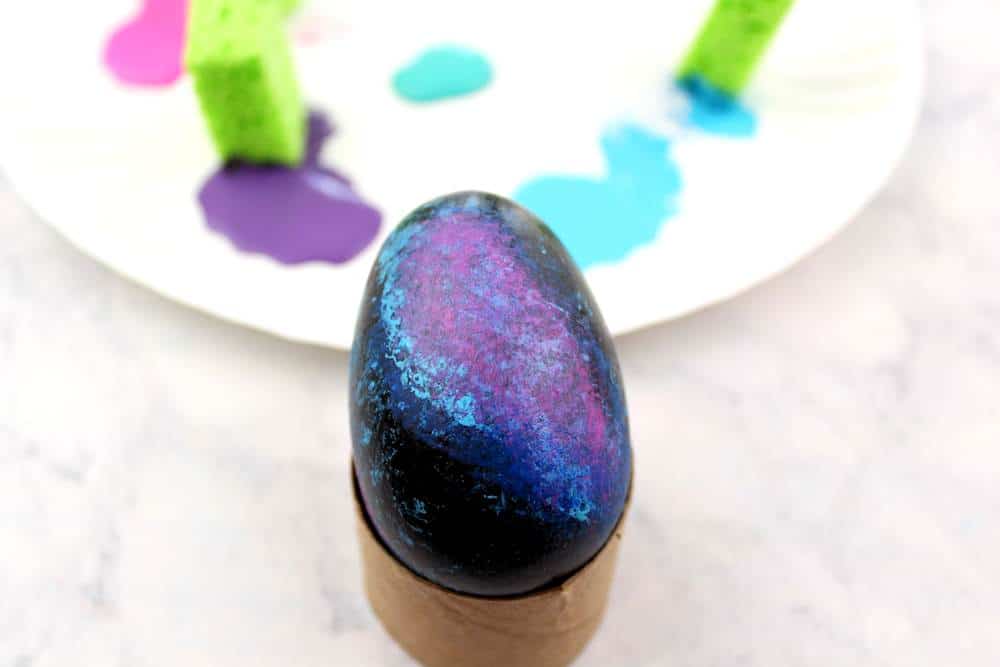
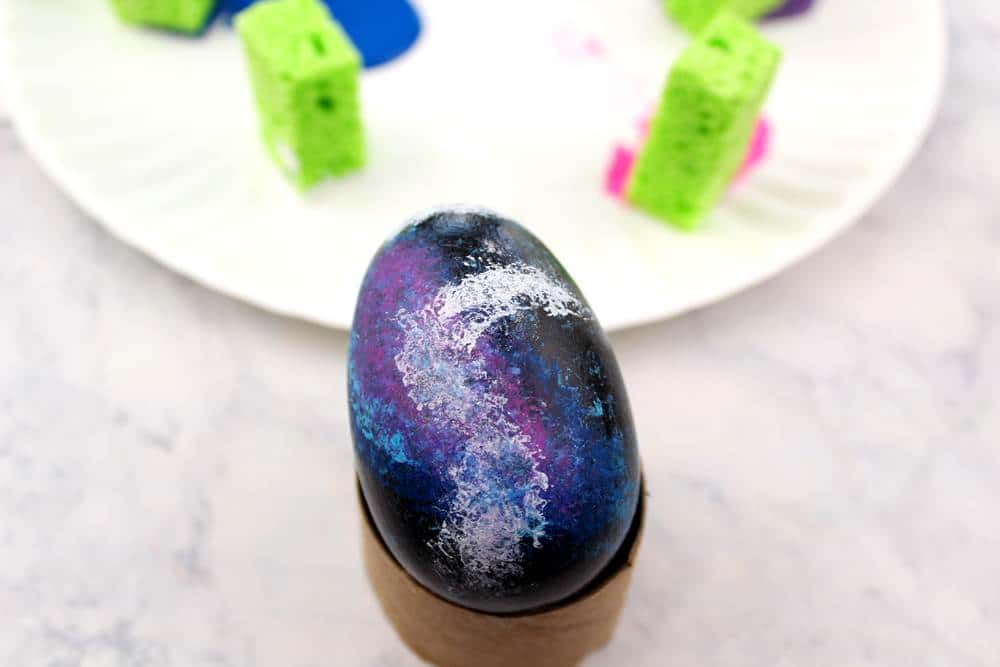
The eggs already look so pretty! Let the paint to dry completely before next step.
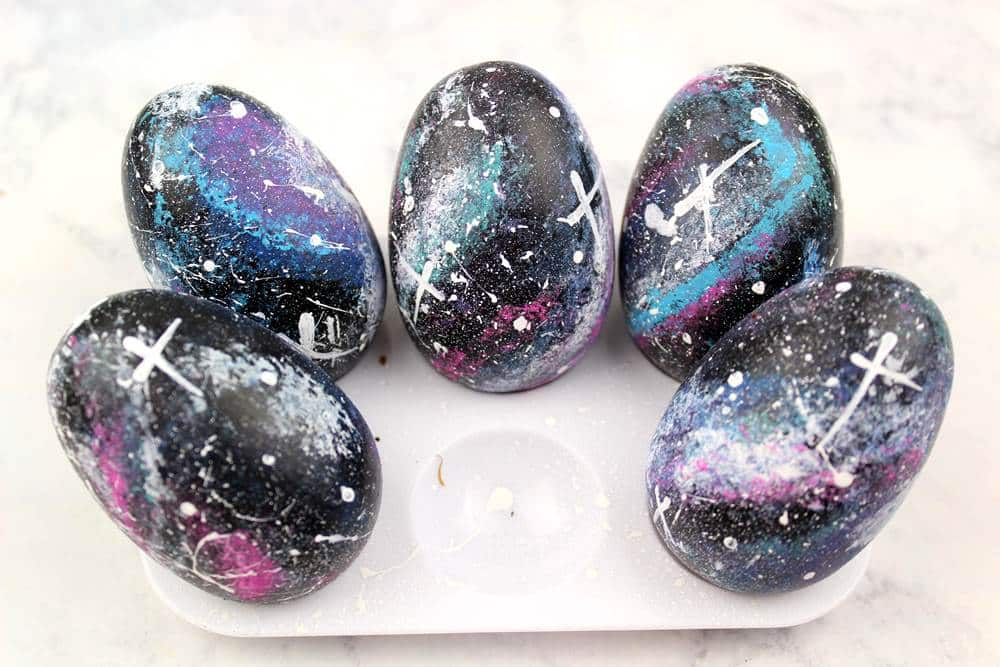
Use a small paint brush to draw small starbursts onto the eggs.

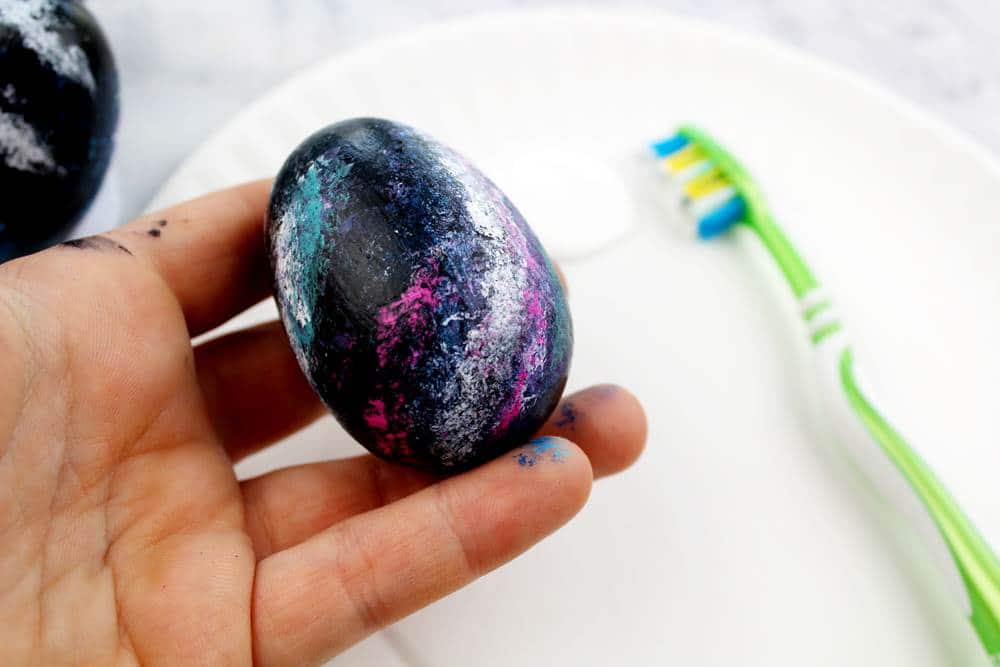
Cover an area with newspaper or do this step outside! Coat toothbrush bristles with white paint and use your finger to flick paint onto the egg to create stars and swirls in the galaxy. Allow the paint to dry completely.
Dip a foam paintbrush into glue and dab the glue lightly onto the egg. Pour gold glitter onto the glue.
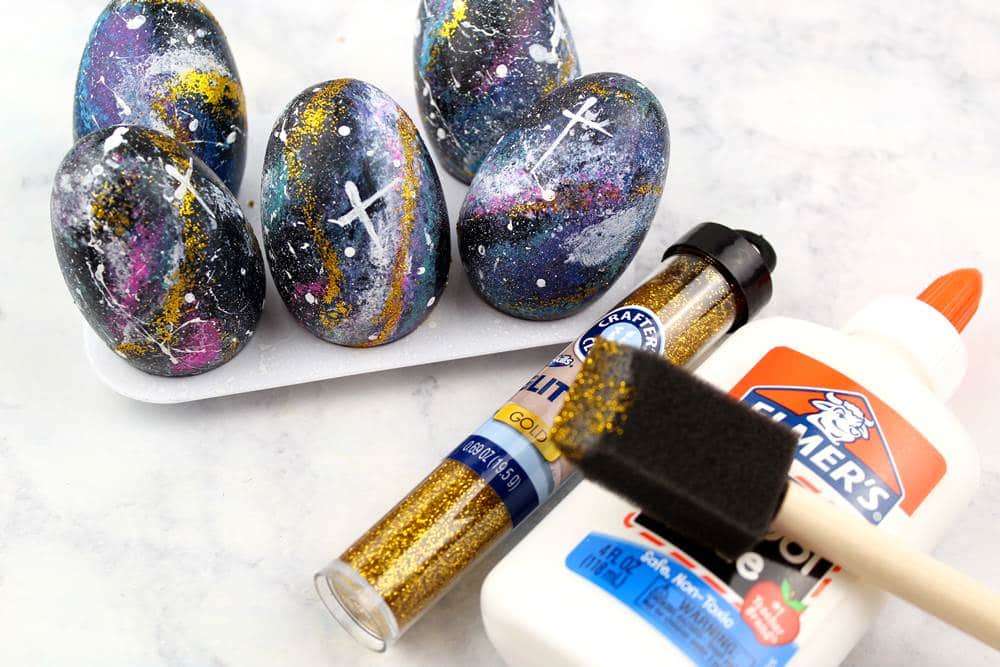
Shake off excess glitter and then use the foam brush to smudge the glitter. Allow glue to dry completely.
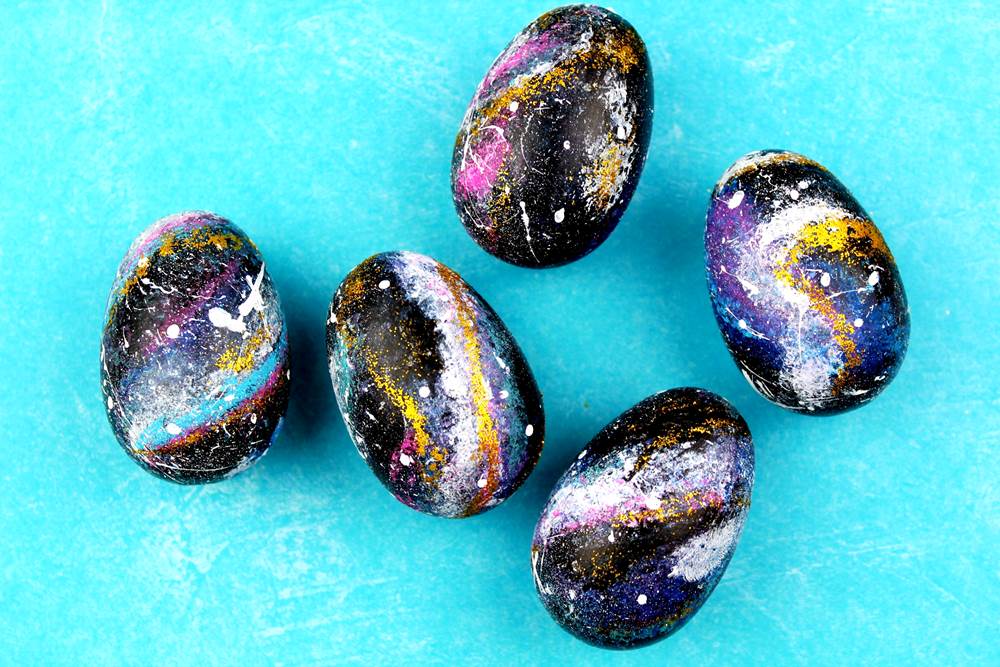
Your eggs are finished! Happy Easter!
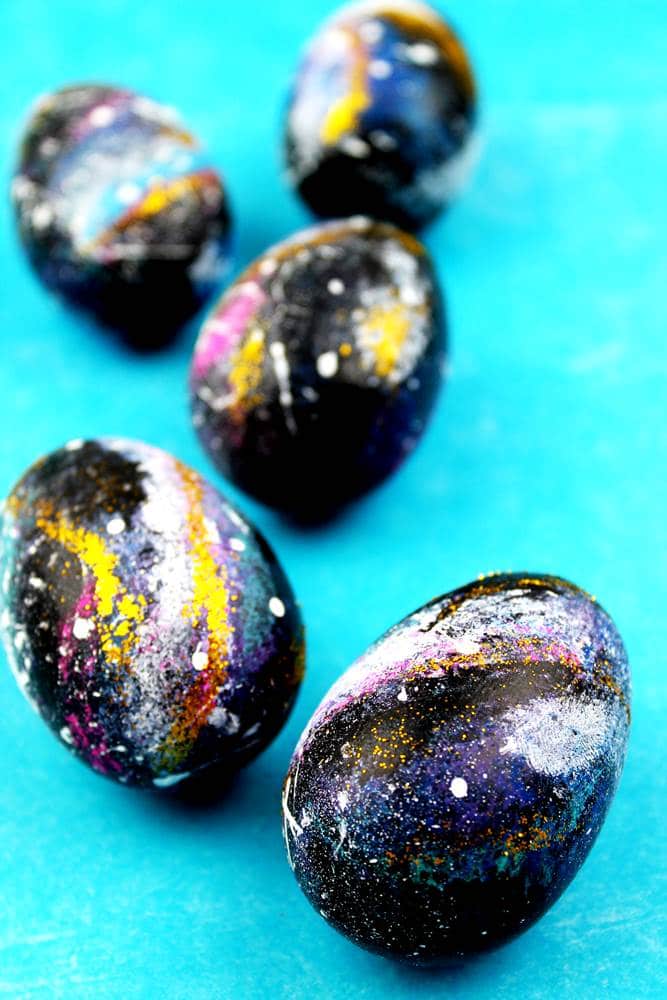
Looking for more Easter Craft ideas? Head over to our Ultimate Easter Craft post here.

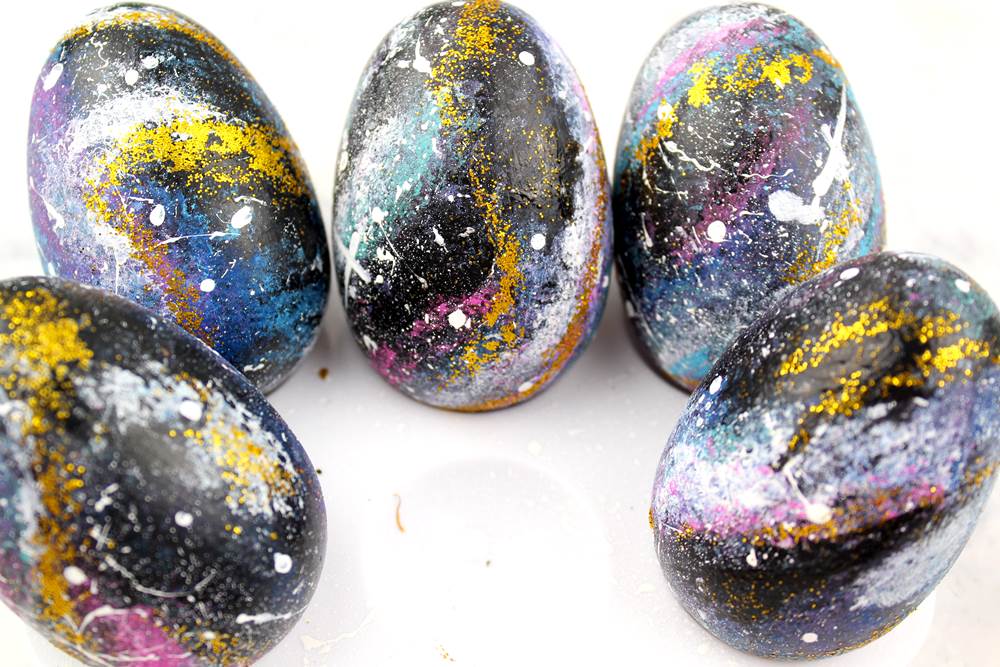
Love these