We have all seen those amazing Drip Cakes on Pinterest and if you’re anything like me you usually skim straight past them as they look so complicated and hard.
Well, Meraki Mother has put together this great tutorial to show you that it is actually super easy to make drip cakes. They are a lot faster and simpler than traditional fondant decorated cakes and make a great party centerpiece.
Follow our step by step drip cake recipe and learn how to make chocolate drip cake that will make you look like a baking pro.
Contents
Equipment You Will Need To Make a Drip Cake
The best way to learn how to do a drip cake is by having the necessary tools in your kitchen. You will need a few essential kitchen items to make a drip cake.
- Cake scraper
- Cake Stand. A revovling one will make it so much easier.
- Electric Beaters
We love this complete set, perfect for all cake decorating.
How To Make A Drip Cake
This is the perfect beginner’s drip cake recipe.
Easy Drip Cake
Ingredients
- At least two cakes. Bake from your favourite recipe or if you are pushed for time, buy plain, un-iced cakes from your local bakery or store ( we won’t judge, promise). We use a variety of cakes from sponge to chocolate mud depending on the party theme.
- Buttercream Ingredients:
- 1 3/4 cup butter, at room temperature
- 2 1/3 cups icing sugar
- 1 tablespoon milk
- A couple of drops of food coloring to match your theme.
- Food essence, to taste. Again match this to your theme. Vanilla, peppermint, Orange or Lemon all make a tasty addition to your cake.
- Chocolate Drizzle Ingredients:
- 3 1/5 oz chocolate, chopped. Dark for chocolate cake or white if you want to color the drizzle.
- 1/2 cup cream
- 1 tablespoon liquid glucose
- Food coloring if you wish to color your drizzle.
- Other Ingredients:
- Perhaps the most important part, the fun toppings. We use a mix of candy, lollipops, chocolate and sprinkles to decorate our cakes. Again thinking about the theme and flavor.
Instructions
- To put the Drip Cake together. Firstly, cut each cake in half and make sure each of the layers of cake are flat, by trimming off any rounded tops.
- Make your buttercream. With electric beaters, beat the butter in a bowl until it is a soft and fluffy texture. Slowly add the icing sugar until the butter goes a light color and has a creamy texture. Next, add the milk and keep beating until mixture is smooth. Add the food color and essence you have chosen until the cream is the color and taste you want.Note: You may need more or less buttercream, depending on the height of your cake.
- Next place your bottom layer of cake on the stand. Spread some of the buttercream on the top of this layer and top with your next layer of cake. Press firmly but gently to make sure it is securely in place and wont slip. Keep repeating until you have the height you want your cake to be.
- Spread a thin layer of the plain buttercream over the entire cake, covering the top and sides. This makes a crumb layer and stops bits of cake coming off into your final buttercream decoration. Use a cake scraper to level this layer and put into the fridge to chill for one hour.
- Finally, remove the cake from the fridge and apply your final layer of buttercream. You will need a thicker layer of buttercream for this level and the cake scraper again to create a smooth finish.If you need help getting a perfect smooth buttercream look, we love this clip from Sweet Bake Shop.
- Return your cake back to the fridge to set while you create the chocolate drizzle.
- Mix ingredients in a heatproof bowl and melt until smooth. Either in a microwave on high for around 1 minute or over a pan of boiling water on the stove. Be sure to allow the mixture to cool to room temperature before you go to the next step.
- Take the cake from the fridge and pour the chocolate drizzle over the top of the cake. To get the best effect, slowly pour in the centre of the cake and with a palette knife, carefully draw the chocolate to the edge of the cake, letting it drizzle slightly over the sides.
- How to decorate a drip cake is your next step. For the final touch let your imagination run wild. If you need to stick things to the side of the cake, a little bit of buttercream should work. We stick to a basic decoration of a collection of candy, chocolate off center on the top of the cake then on the opposite side of the cake put some of the decoration to the side of the cake stand and on the side of the cake. Be sure to use different sizes and heights to add interest and WOW factor to your cake.
How To Decorate A Drip Cake
There are so many combinations, flavors and themes you can use this basic and easy drip cake for. Here are a few ideas from us.
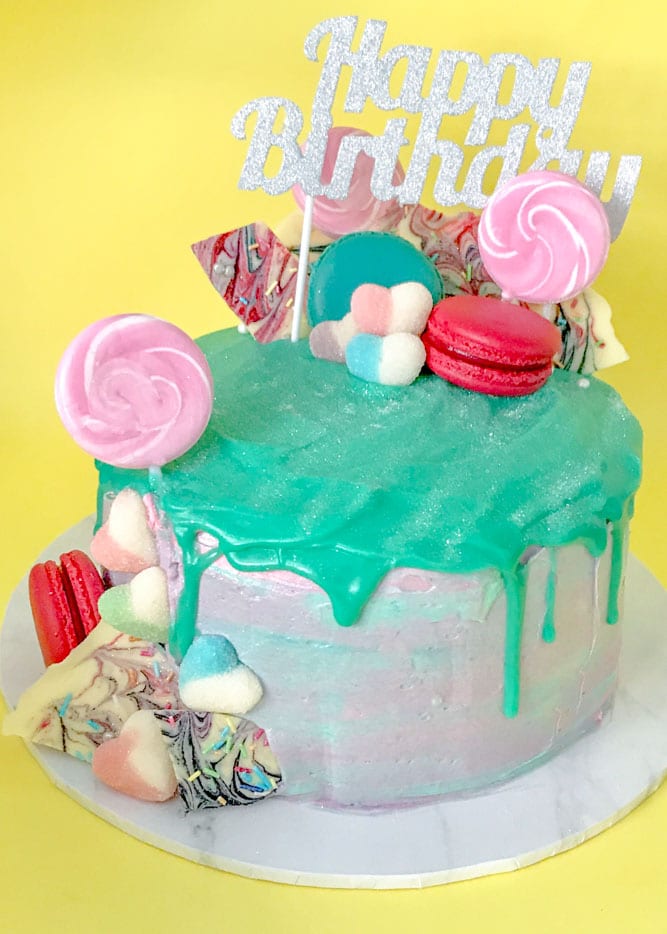
Colorful Birthday Drip Cake
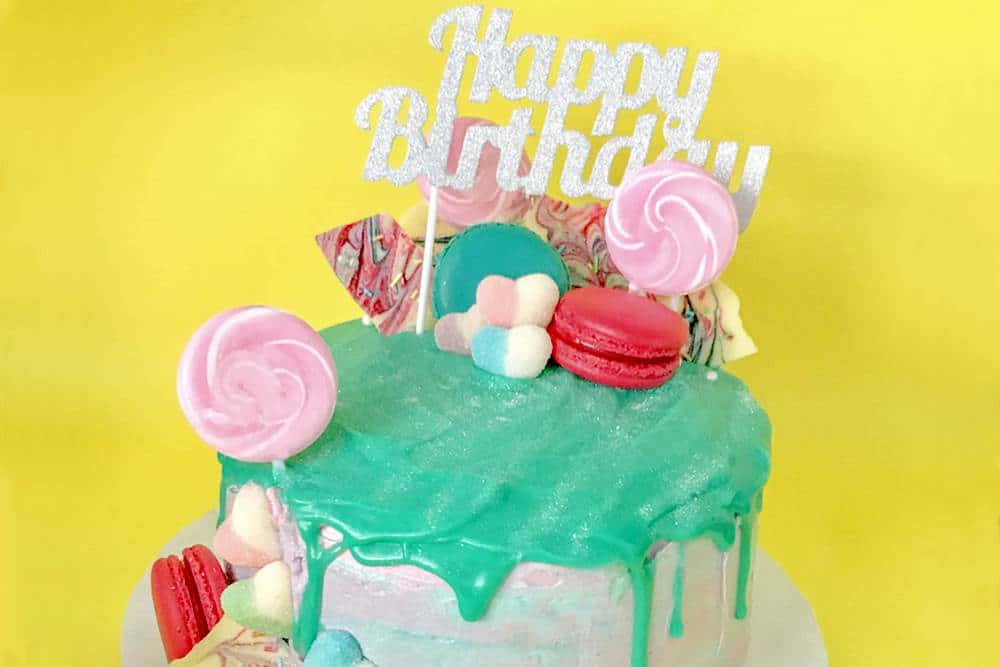
We dyed our buttercream three different colors to create this fun and amazing drip cake. Follow the steps to create a watercolored buttercream drip cake here then add candy, chocolate and other yummy goodies to make a big impression at your next birthday party.
Chocolate Mint Drip Cake
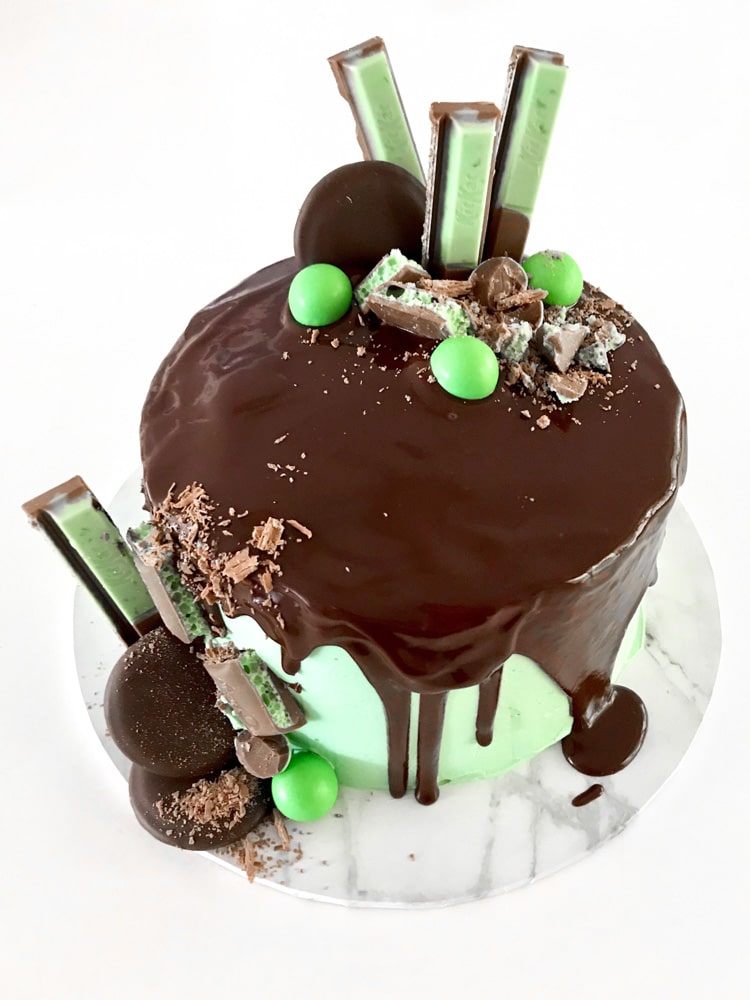
We made this delicious Choc mint drip cake for a fun St Patricks Day cake but it can just as easily make an amazing birthday cake.
Pastel Drip Cake
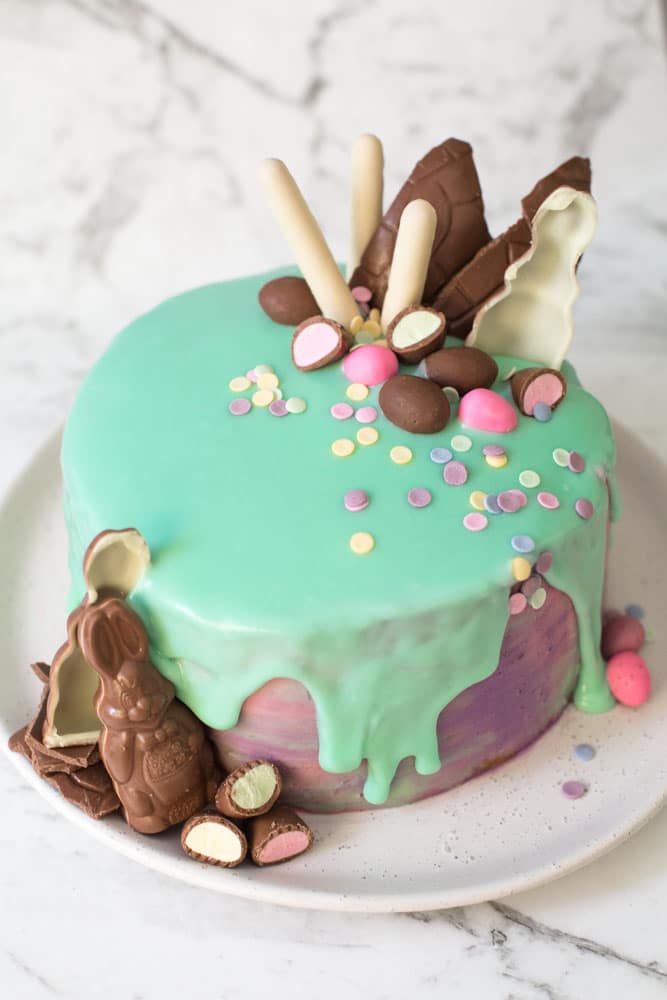
How about white chocolate drip cake with pretty pastel colors? We decorated with Easter eggs for a gorgeous Easter brunch Easter Cake. Decorate instead with pastel candy and white chocolate goodies to make a pretty drip cake that would be perfect for any occasion.
